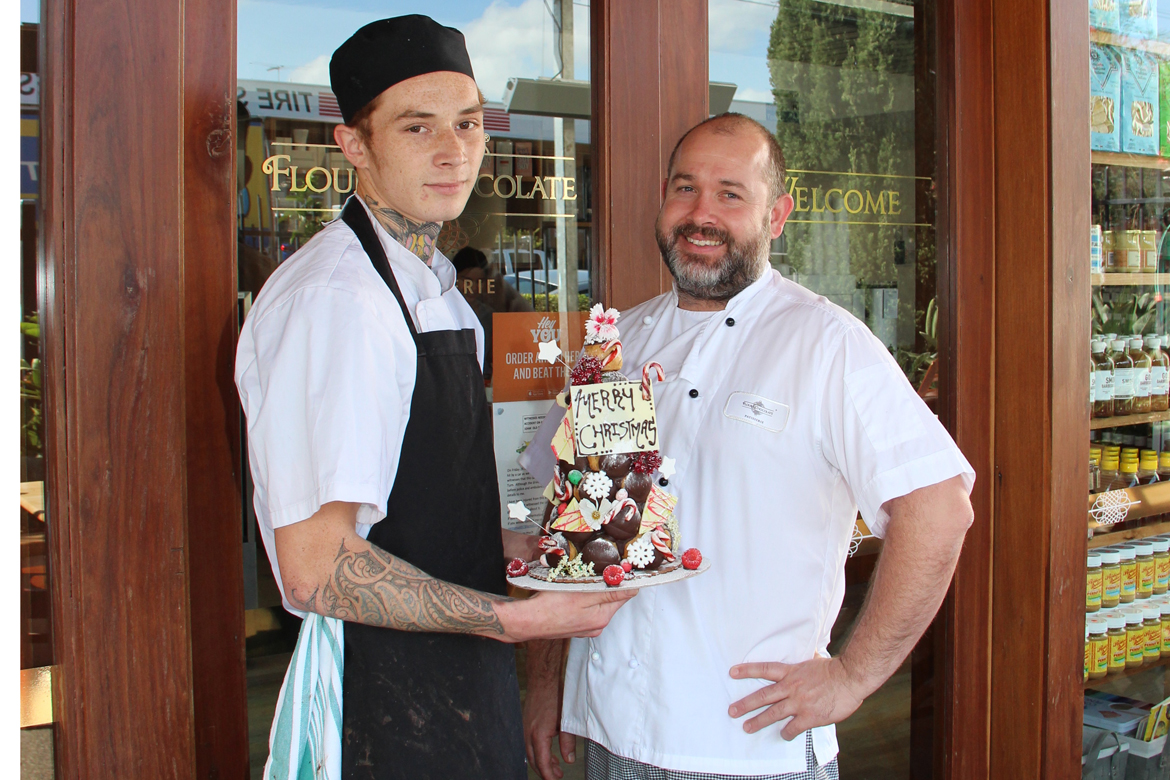
A festive favourite, the croquembouche can be a tricky one to master. To help us construct this Christmas cracker, we’ve called on Flour & Chocolate’s king of the croquembouche, Dylan Smith.
Dylan has loved sweets and desserts since he was a kid. He says his passion for cakes and pastry really began at age 12, when he began baking in the kitchen with his mum.
After completing a four-year apprenticeship with Looma’s in Sydney, he was qualified by age 19. Dylan has worked in all areas of pastry, from manufacturing to small, family owned bakeries. Since working at Flour & Chocolate, Dylan says he has learned an incredible amount and loves working with the team.
Christmas Cracker Croquembouche
WHAT YOU NEED
Biscuit base
20-30 profiteroles
Chocolate or vanilla creme patisserie
Dark Belgium chocolate, melted
Rock sugar for decoration
White chocolate shards for decoration
Mini candy canes
Speckled candy eggs in red, white and green
Raspberries
Flowers for decoration
Candy stars and snowflakes for decoration
Icing sugar for decoration

WHAT TO DO

Once your choux pastry profiteroles have cooled down and you feel they are ready to be filled, grab a skewer and gently press a hole in the base of each one. Use a piping bag with a small nozzle and fill your choux pastry with vanilla or chocolate creme patisserie—or use both flavours for a bit of variation.

Once you’ve filled your profiteroles, it’s time to melt your chocolate. I prefer to make croquembouches with dark chocolate rather than toffee in summer, as dark chocolate tends to be more stable in warmer temperatures. To get your chocolate to a nice, shiny consistency, melt it in a bowl over a pot of hot water on the stove, stirring every 30 seconds. You want it melted but not super hot, otherwise it will be too runny. Dip the top of each profiterole into the chocolate one by one, and place them in the fridge to set.

Secure a 5mm-thick shortcrust pastry base approximately 25cm in diameter to your cake stand with some of your melted chocolate. Work out the best arrangement of profiteroles for your base layer—I start with seven profiteroles on the bottom row. With your base layer, you want to use the biggest profiteroles and save the smaller ones for the top. When placing each layer, try and keep your profiteroles the same size and height to keep the layers even. Keep the profiteroles placed as close to each other as possible to avoid unsightly gaps. Secure each profiterole with melted chocolate and once the layer is complete, refrigerate until set.

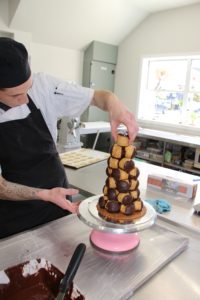
Once your previous layer is set, place the next layer using one less profiterole than the row before. Remember to refrigerate after each layer to keep the structure stable—this is really important as you build up.
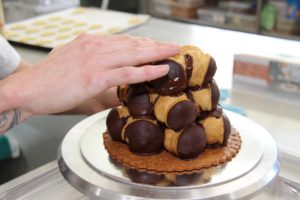
Once you get close to the ‘pointy end’ of the croquembouche, you’ll need to use your hands to gently shape and manoeuvre the profiteroles into the right position. It can be tricky, as you don’t want to get fingerprints or marks on your glossy chocolate tops. Just be careful and do your best. It’s also a good idea to face any profiteroles with slight flaws away from the ‘front side’ of the croquembouche.
For your second last layer you will be working with two profiteroles. This is where you change it up a little and grab both profiteroles, dipping the bottom of both in the melted chocolate. Shake off any excess and place both bottoms together to create one piece. Once stuck together, dip again in chocolate and place on top of the previous row. Make sure the tops of the profiteroles are facing outwards for the most consistent look.
For the star profiterole at the top of the croquembouche, I’ve chosen to dip the top in chocolate and rock sugar for a snowlike effect. Place this finished profiterole on top. Congratulations —the hard part is over and the fun decorating begins!

Make up some white chocolate shards for contrast. I’ve also created a Merry Christmas plaque from chocolate, which is optional. If you are making a plaque, be sure to place this first. You want to place your plaque more to the top so you get that triangle look from above plaque and below too.

Decorate your croquembouche with fresh raspberries, foodsafe Christmas cracker, candy canes, speckled candy eggs and edible sugar stars and snowflakes. Secure everything using your melted chocolate, making sure it sets securely. I find the speckled candy eggs and chocolate shards are particularly good for disguising any gaps between profiteroles. Remember, it’s important to know when to stop as you don’t want to take away from the triangle shape of the croquembouche. Also, you don’t want to create too great a load for the structure!
For a nice finishing touch, dust your christmas cracker with icing sugar to represent snow. You’re finished!


COMMENTS