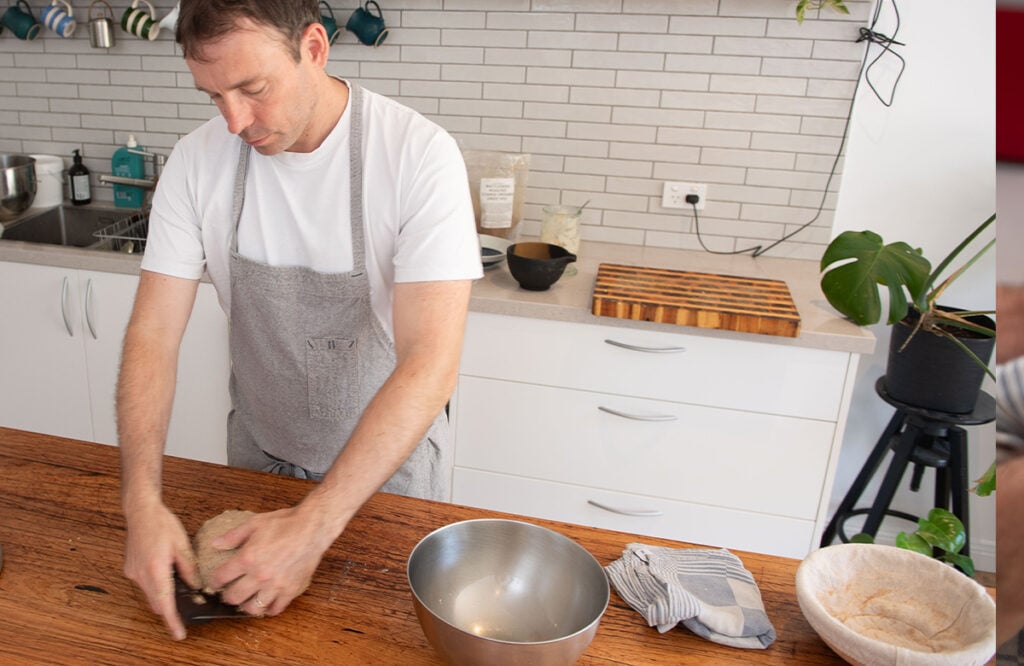
Michael James is a powerhouse in the Australian baking industry. The former Tivoli Road Bakery owner now dedicates his time to building a healthy and thriving local grain economy through GrAiNZ, and create a more sustainable food system through education with Urbanstead.
 About Michael James:
Michael and his wife, Pippa, live in Melbourne with their daughter, Clover. They believe that food has the power to connect us with people, place and planet.
They are passionate about regenerative living and dedicated to building abundant and resilient local food systems through their personal and professional lives.
Michael grew up in Penzance, Cornwall, before moving to London, where he met his Australian wife, Pippa. Together they lived in London, Edinburgh and Sydney, before settling in Melbourne in 2008.
They opened Tivoli Road Bakery in 2013, dedicated to supporting local farmers and offering high quality bakes to their community. After garnering a loyal following for their bakery in Melbourne and beyond, Michael and Pippa sold the business to focus on new opportunities.
Their acclaimed first book, The Tivoli Road Baker, was published in 2017. Their follow-up book of savoury bakes, All Day Baking: Savoury, Not Sweet, was published in 2021. It was selected for the Jamie Oliver Cookbook Club book of the month in May 2022.
As co-founders of GrAiNZ, Michael and Pippa are committed to building a healthy and thriving local grain economy. Their new venture, Urbanstead, exists to create a more just and sustainable food system through education and community building.
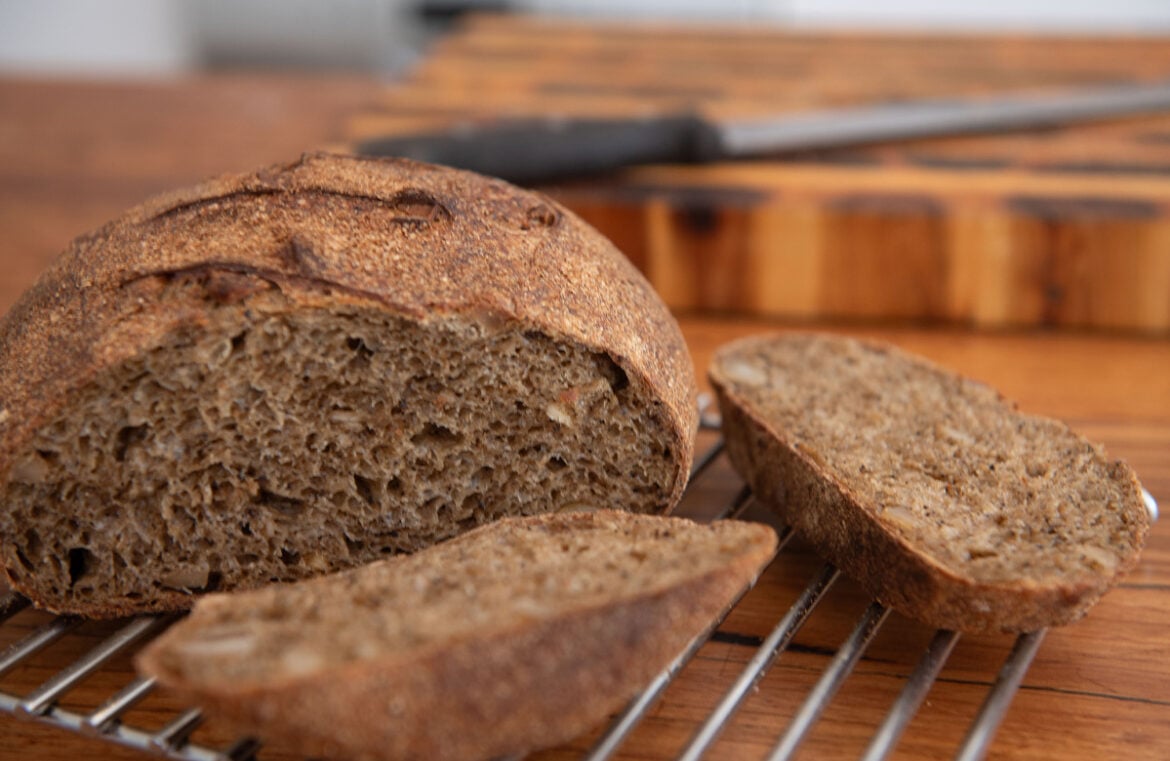
Macadamia, Wattleseed and red gum honey loaf with Michael James
WHAT YOU NEED
Starter build
50g (1¾ oz) starter
25g (1 oz) bakers flour
25g (1 oz) whole-wheat flour
50g (1¾ oz) water
For the dough
100g (3½ oz) starter
220g (8 oz) bakers flour
100g (3½ oz) whole-wheat flour
300g (10½ oz) water
30g (1 oz) red gum honey
7g (¼ oz) salt
15g (½ oz) wattleseed, ground in a mortar and pestle
70g (2½ oz) macadamia nuts, lightly toasted and roughly chopped
semolina, for dusting

WHAT TO DO
Starter build
Around 4–6 hours before you plan to mix your dough, combine the starter, flour and water for the starter build, mixing well to combine. You will use 100 g (3½ oz) of this for the dough; retain the rest for maintaining your starter.

Build the dough
At least 30 minutes before you plan to mix the dough, combine the flours and water in a large mixing bowl. Mix them with your hands until thoroughly combined, then cover with a damp cloth and set aside for the autolyse
When the starter is ripe and bubbly, mix it with the flour and water mixture, then add the honey and massage the mixture for a minute or so, until fully incorporated. Sprinkle over the salt and finish mixing the dough in a stand mixer for about 10 minutes on slow speed. Cover with a damp cloth and set aside in a warm place for at least 30 minutes, before your first set of folds.
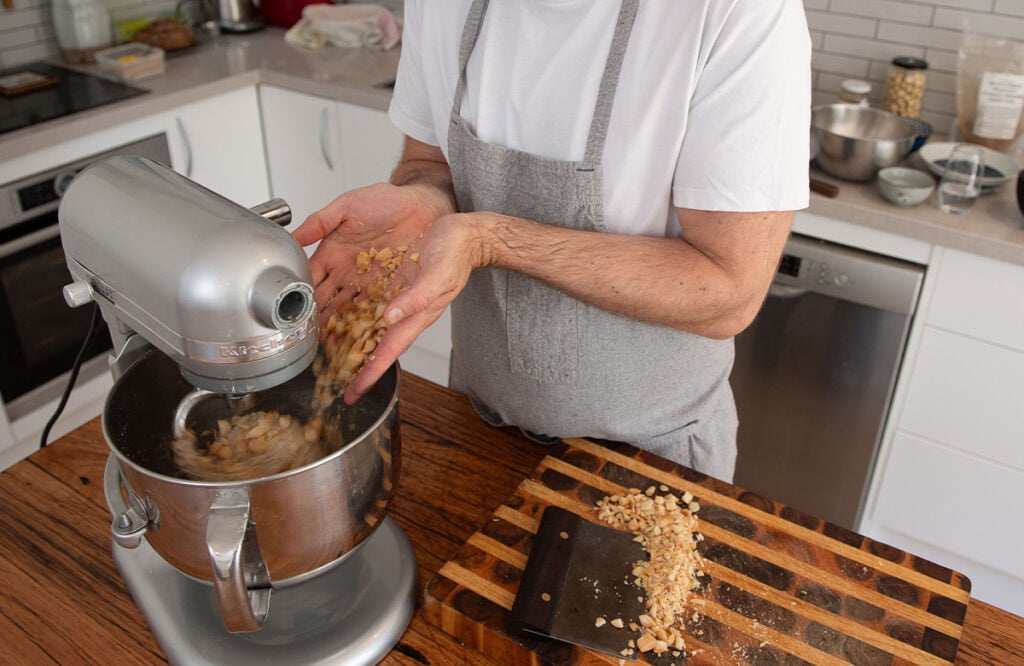
Add the ground wattleseed and roughly chopped macadamias to the dough as you do the first turn and fold, ensuring they are evenly incorporated. Complete four sets of folds, resting the dough in between each one for 30–45 minutes.
After your last set of folds, cover your dough with a damp cloth and leave to prove at room temperature about 26c is ideal for about 2–3 hours until you see signs of fermentation and its has slightly risen in the container.
Shape and final prove
If you have multiplied the recipe, divide the dough into individual loaves before you pre-shape.
Pre-shape the dough, then cover with a damp cloth and leave it to rest on the bench for 15–20 minutes.
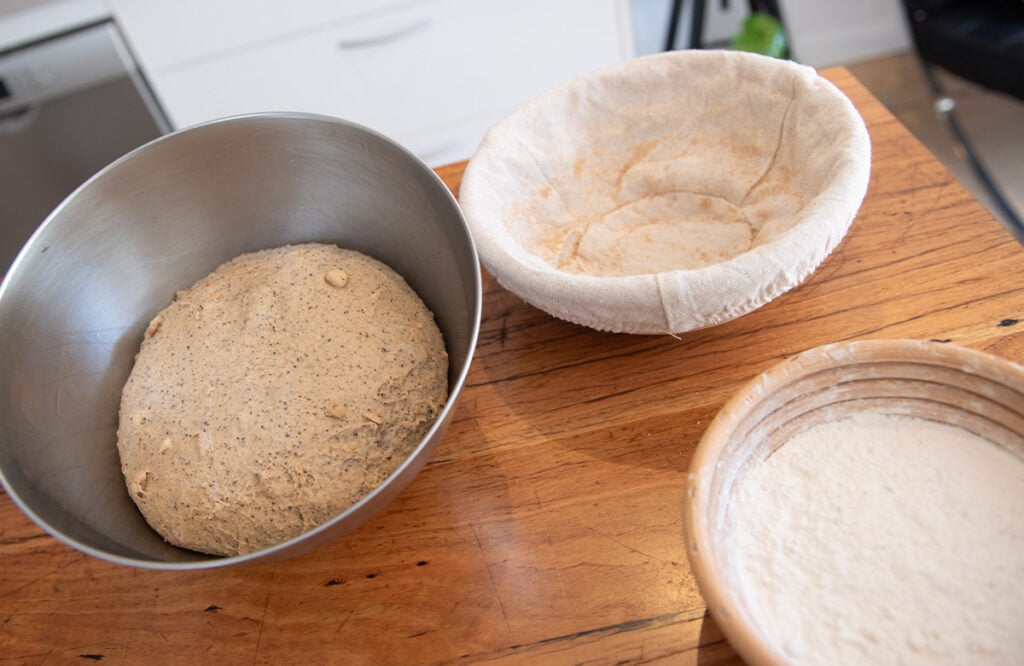
When the dough has relaxed, shape the dough as desired, then place it seam side up in a lightly floured proving basket.
Cover with a damp cloth and set aside for a few hours, or in the fridge overnight, until ready to bake.
Bake your bread
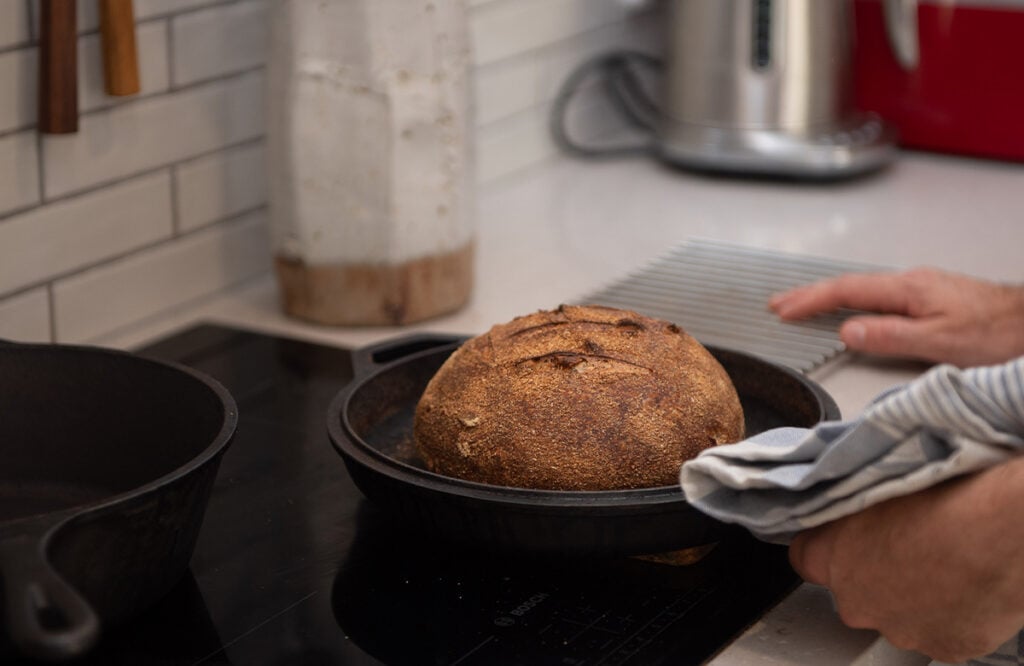
Preheat the oven to the maximum temperature and bake according to your preferred method . If using the Dutch oven, bake for 25 minutes with the lid on, then reduce the temperature to 200°C (390°F) and bake for another 4–5 minutes without the lid. The honey in the dough will caramelise the crust quite quickly, so keep an eye on the loaf in the final third of the bake. The wattleseed will give off an amazing aroma as the bread bakes.
Notes:
Pre-shaping
Despite the name, pre-shaping isn’t so much about creating shape as it is about knocking out air and building strength in your dough.
Left alone, the large bubbles of air in the dough after the bulk prove will result in big caverns in your loaf. When you knock back the dough you are not destroying these bubbles, you are simply evacuating the accumulated air inside them. Imagine the dough as being filled with a million beach balls of different sizes. When you knock them back, you are simply deflating them. The balls are still present, waiting to be refilled with the carbon dioxide produced during the final prove. If the beach balls are not deflated at this point, they will fill with too much air and pop. Knocking back doesn’t destroy them, but NOT knocking them back does!
If the bench has too much flour on it when pre-shaping, the dough will just slide around. You need just enough flour for the bench not to be sticky, while still allowing a bit of friction when you roll the dough. Experiment a little and you will find the amount that works for you. Lightly flour your hands before you start.
Place the dough on the bench. Pull, stretch and fold the edges of the dough over the middle until you have a roundish shape. Flip the dough over so that the seam is underneath. Cup your hands around the back of the dough, as if you were about to drag the dough towards you, and rotate it across the bench, using firm pressure to create tension through the dough. Smack out any large bubbles.
When you first roll the dough it will feel like a rare steak, very slack. Continue rotating the dough, pushing it around until it looks taut and feels firm when pressed, a bit like a well-done steak. You will know you have gone too far if the surface of your dough begins to tear or break.
You want a tight round ball of dough that sits up on the bench, rather than a saggy form. Leave the dough on your bench covered with a damp tea towel for 15–20 minutes. When the dough has visibly relaxed, it is ready for shaping.
Shaping
Now you need to shape the bread and transfer it to a banneton or bowl to support the structure during the final prove. You can purchase bannetons specifically made for proving bread, or just use a mixing bowl, basket or even the lid of an egg carton. Shaping also builds strength in the dough so it can support the air created during the final prove, giving you a nice open crumb. You need to stretch the surface of the dough very tightly and evenly all around. Imagine a piece of fabric stretched tightly around a ball and knotted at the bottom – that’s what you want it to resemble.
Once again, if the bench has too much flour on it the dough will just slide around. You need just enough flour for the bench not to be sticky, while still allowing a bit of friction when you rotate the dough. Sift some flour over the proving basket, too, so the dough doesn’t stick, and dust your hands with flour before you start.
Shaping a round loaf
Flip your pre-shaped dough over onto the bench, so the seam is now on the top. Pull, stretch and fold the edges of the dough over the middle, repeatedly folding up and over the previously pulled and stretched edges about eight times, until it starts to form a tight round ball.
Flip the dough over so that the seam is underneath. Cup your hands around the back of the dough, as if you are about to drag the dough towards you, and rotate it across the bench, using firm pressure to create tension through the dough. It should catch slightly on the benchtop, stretching the surface and bulging out ahead of your hand. Don’t let the dough roll over, but push it gently and let it bulge out. You know when you’ve perfected this action because it will result in a ball of dough that sits tight and high on the bench. It should no longer sag and spread out flat.
Smack out any large bubbles, then close the seams as much as possible by tucking them under with your fingers while moving the dough along the bench. If any seams start to open, just pinch them back together. Place the dough into the floured proving basket seam side up and lightly dust the top with flour or semolina.
Shaping a batard loaf
Flip your pre-shaped dough over onto the bench, so the seam is now on the top. Shape it into a wide rectangle, with the short edge towards you, and gently flatten it. Turn over the top corners to create a triangle (see Step 5, page 21). Roll the dough down from the top, pushing into the middle with your thumbs as your fingers pull the dough over (see Step 6, page 21). Roll tightly to create tension in the loaf, especially at the top. Use the heel of your hand to seal the seam at the bottom, knocking out any large air bubbles. Use a dough scraper to peel the dough off the bench, and tidy any seams by pinching them together.
Your loaf might end up looking a bit like a pasty with crimped edges – that’s okay. Better that than an inconsistent and bubbly loaf. Tip the dough into your proving basket, seam side up, and dust the bottom of the loaf with flour or semolina
Final prove

Once the loaf has been shaped, place it in a banneton, basket or bowl that fits the dough with room to allow it to rise. Either leave it at room temperature for a few hours before baking, or refrigerate it overnight (or for up to 48 hours), and bake when needed. If you refrigerate it, you will need to check the dough as described below before baking – it may be ready or it may need some time at room temperature to finish the final prove.
Most domestic fridges sit at around 5°C (41°F); yeast activity ceases at 8°C (46°F), and bacteria at 4°C (39°F). So when retarding the prove in the fridge, only the bacteria will continue to metabolise. They will remove the sugars and cause more enzymatic browning in the crust due to protein breakdowns caused by the acids produced. At room temperature, less overall acid is produced because the yeast is also active. The result will be a lighter and fresher tasting loaf, with the flavour of the wild yeast and the grain coming through more strongly.
What you are looking for is a loaf that has risen by half. Test it by pressing gently into the dough with your finger. When the imprint of your finger stays on the dough it is proved and ready to bake. If the dough springs back immediately, it will require more time to prove. If it deflates quickly then it is over proved and the baked loaf will have a dense crumb. In this case you can still enjoy your loaf, safe in the knowledge that next time you will test it sooner.


COMMENTS