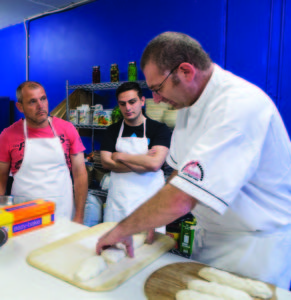
Rustic Italian bread has been a fixture in international bakeries, cafés and restaurants for years, however only recently has the celebrated wood-fired tradition begun to mainstream in Australia. Australian Baking Business went to the Vesuvio wood fired oven kitchen to see the art of Tuscan bread making first-hand.
There is no substitute for authenticity when cooking bread.
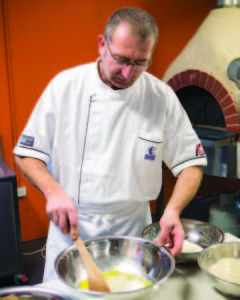
For internationally renowned pizza chef Joe Cassisi, the art and joy of traditional bread making is an intimate, hands-on experience that should only take place around a wood fired oven.
“We all know pizzas take on additional layers of flavour when cooked in a wood fire, so my mission now is to encourage bakers to extend this mentality to bread,” Joe says.
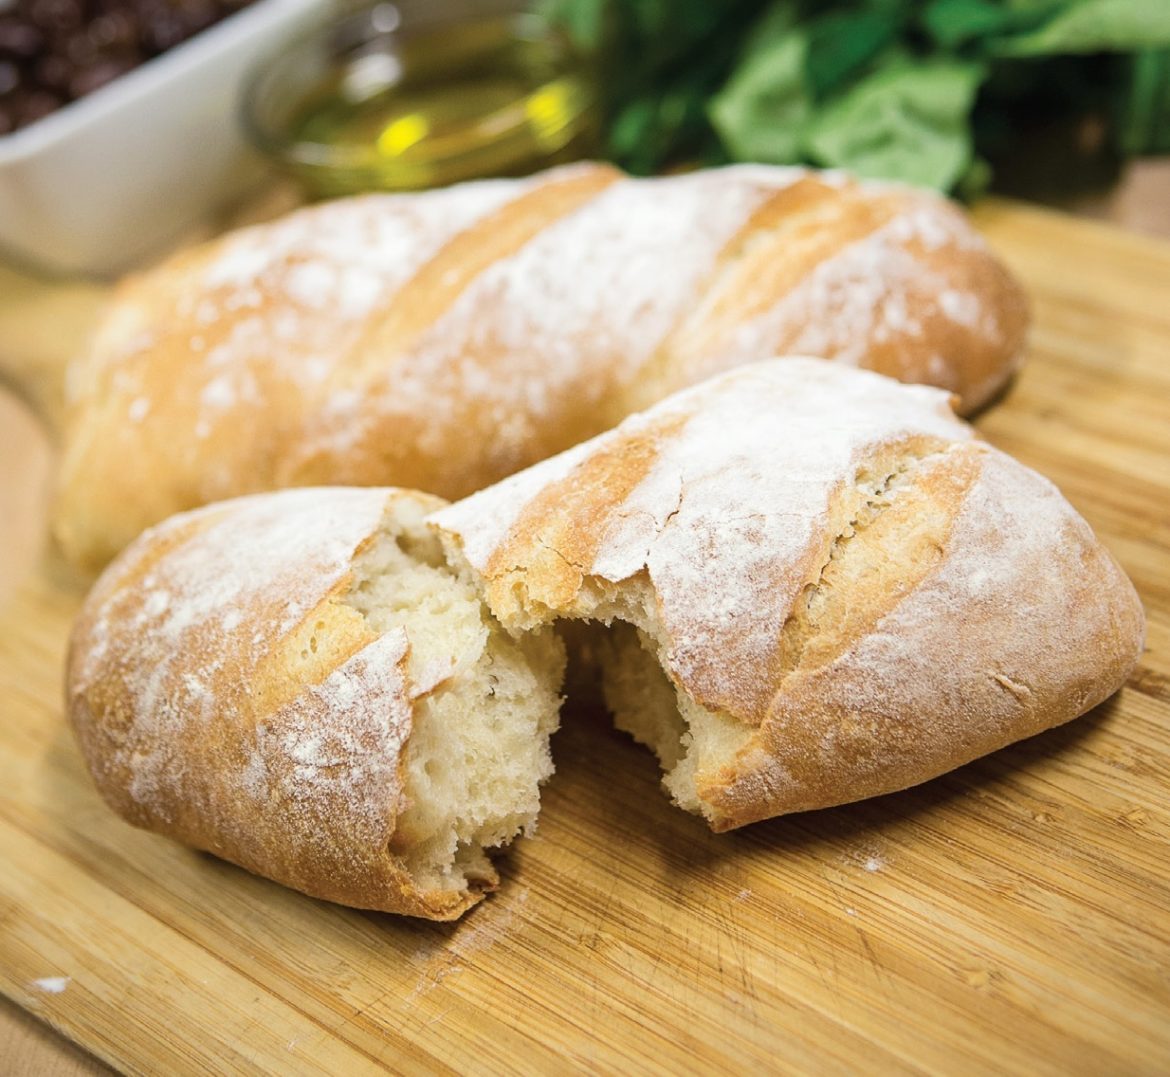
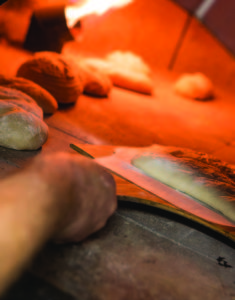
“There is something special about sliding a smoky, crusty, golden brown loaf of bread out of the oven and, upon tapping it gently, hearing that unmistakable hollow sound of a perfectly cooked product, ready to be broken and served.
“Using a wood fired oven does take some learnt knowledge. The oven must be heated to the right temperature and the dough must be made of the right ingredients and quantities.
“However, wood fired ovens – both commercial and residential varieties – are becoming far more accessible and I encourage the Australian baking community to give it a go. Your customers will thank you.”
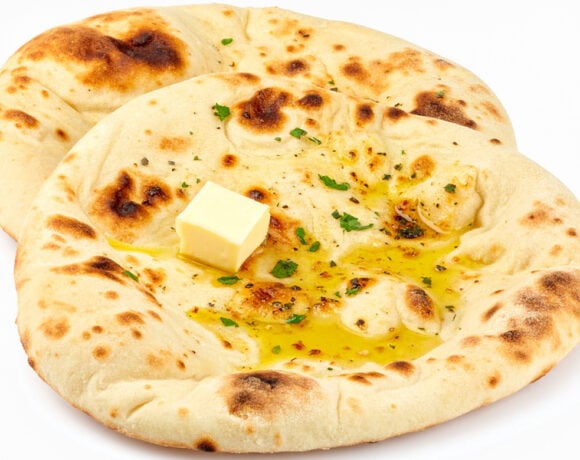
Tuscan Wood-fired Bread
WHAT YOU NEED
Olive oil bread
Biga starter:
Biga is a type of pre-ferment used in Italian baking. Many popular Italian breads, such as ciabatta, are made using a biga.
350g bakers flour
240ml water
2g dry yeast
Olive oil dough
Biga Starter
350g bakers flour
5g dry yeast
15g salt
8g sugar
30ml milk
30ml olive oil
240ml warm water

WHAT TO DO
1 Mix biga ingredients in a bowl and cover with cling wrap for 18 hours at room temperature;
2 In a bowl dissolve yeast in water. Add milk, sugar, olive oil, flour and biga. Add salt and mix together;
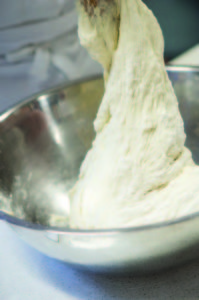
3 Knead ingredients with a wooden spoon for approximately 10 minutes, until completely combined. The dough should be fairly sticky with a glossy silky appearance;
4 Place dough in a lightly oiled bowl and cover with cling wrap. Prove for 1-1.5 hours in a warm spot (approximately 25-27°C);
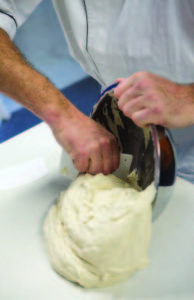
5 Once the dough has proved, knock it back and allow the dough to prove again, ideally two times during the 1.5 hour period. Remove dough from the bowl and place on a lightly floured bench;
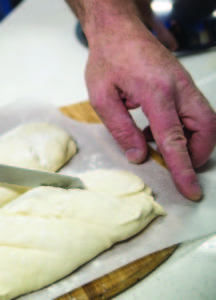
6 Portion mixture into two 600g logs or four 300g logs, shape as desired and place on a floured board;
7 Prove for approximately 40 minutes to one hour depending on climate. Once proved use a sharp blade or serrated knife to slash the dough; and
8 Bake at 200°C for 35-40 minutes, watching carefully to make sure the loaves do not burn. When golden brown, check the base of each loaf by tapping your finger – if it sounds hollow, the bread is ready.


COMMENTS