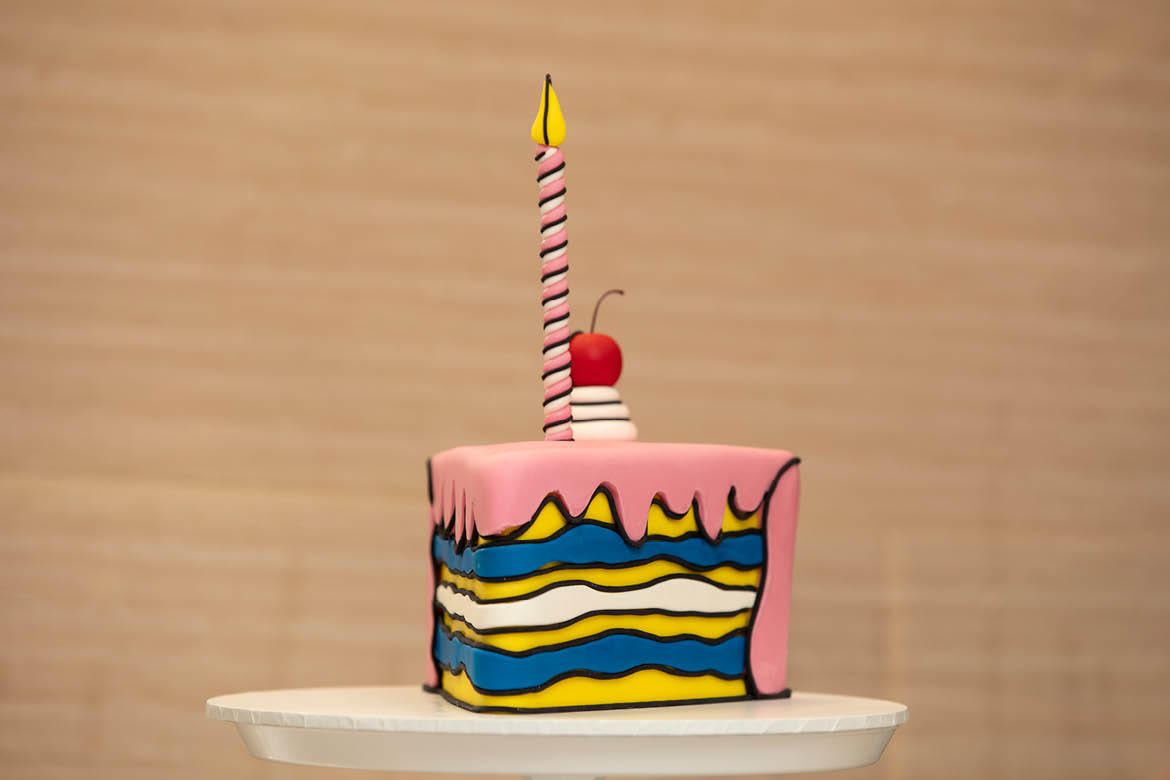
Eye-catching and unique, comic cakes are making a name for themselves in the baking world. In this Masterclass TAFE NSW Ryde Baking Head Teacher Luigi Stivaletta takes us through how to decorate a cake that is a feast for the eyes as well as the tastebuds.
 About Luigi Stivaletta:
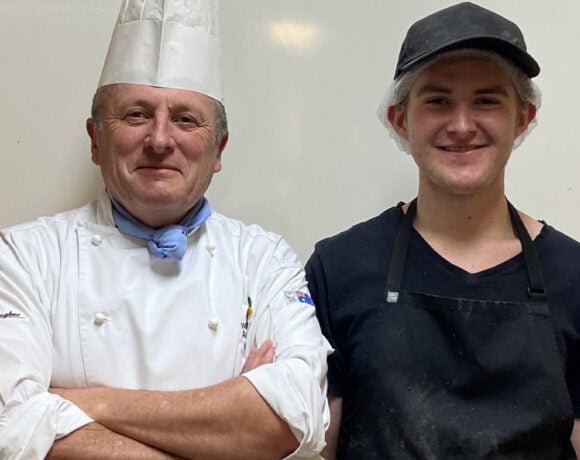
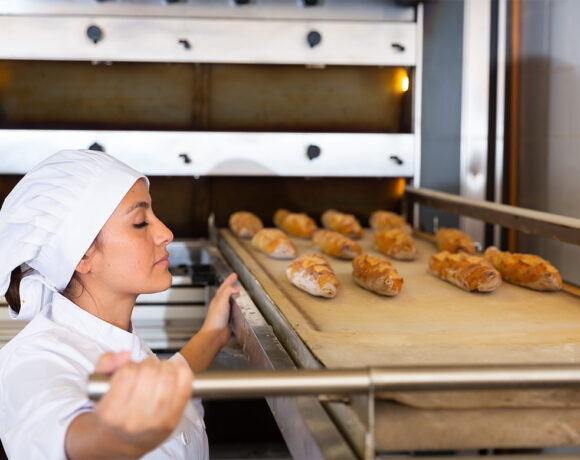
Luigi Stivaletta is the Head Teacher of Baking and Patisserie at the Australian Patisserie Academy within TAFE NSW Ryde, where he provides culinary professionals and food enthusiasts specialised training.
Luigi commenced his training in the industry early; being born into a family with three generations of Italian bread and patisserie specialists, love for the trade was literally in his blood. He has a real passion for all things sweet; consequently, he is highly skilled across bread, bakery, patisserie, chocolate, sugar artistry, and cake decorating.
Luigi has been teaching for 16 years and has also won a number of gold medals in national and international World Skills competitions to his name. On top of this, Luigi was recently one of the International World Judges of the International World Cup of Pastry, Gelato, and Chocolate and was a coach of the pastry team.
Comic Cake with Luigi Stivaletta, TAFE NSW Ryde
WHAT YOU NEED
For the confetti sponge cake
Group 1
175ml milk
170g eggs
220g cake margarine
15g ovalett emulsifier
280g caster sugar
Group 2
270g cake/sponge flour
9g baking powder
1g salt
5ml vanilla essence
Group 3
120g 100s & 1000s confetti
For the fondant buttercream
500g fondant
500g unsalted butter, cubed and softened
1 tbsp vanilla extract
For the decoration
Extruder
Corn flour
Rolling pin
Cake smoother
Ruler
Paring knife
Small paint brush
Template (shaped like a top-down view of a typical slice of cake, i.e., a triangle)
Fondant
750g RTR yellow icing
375g RTR pink icing
185g RTR black icing
100g RTR blue icing
20g RTR red icing
50g RTR white icing

WHAT TO DO
To cover and decorate the cake
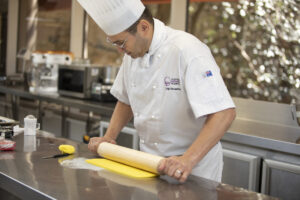
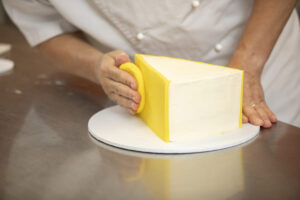
Knead the yellow RTR icing to soften it. Lightly dust your work surface with cornflour and roll the fondant out to approximately 2mm in thickness, turning it regularly to ensure that it is not sticking to the bench.
Measure the yellow icing so it will cover the width and lengths of both long straight sides of the cake.
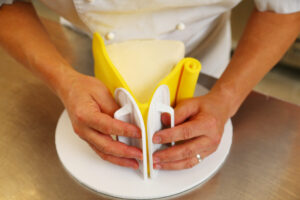
Remove any a visible air bubbles with a pin. Roll the icing onto a rolling pin and wrap it on the two long straight sides, starting from one side and working around to the front of the cake until the icing reaches the other side.
Smooth the sides of the icing first with a smoother to ensure no air bubbles are trapped.
Knead half of the pink RTR icing (180g) to soften. Measure the icing so it will cover the width of and length of the back of the cake. Remove any air bubbles and smooth the side of the cake.
Knead the remaining half of the pink RTR icing to soften. Measure the top of the cake and allow about 5cm of additional icing to drop off the side. Remove any air bubbles and smooth.
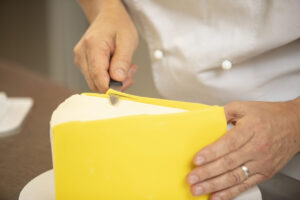
Using the cake smoothers to flatten and smooth the icing along the sides of the cake and the top.
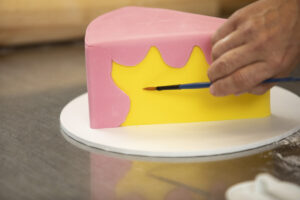
Using a sharp blade, cut away a drip effect on the two straight sides.
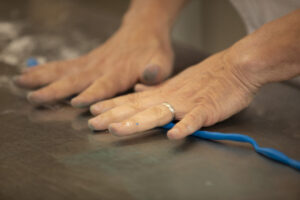
Knead the blue RTR fondant and, using your hands, roll it out into a sausage shape. Then, using a cake smoother, flatten the icing to approximately 2mm thick.
Lightly dampen a small paint brush with water and brush the surface area of the cake where you would like to attach the fondant.
Repeat this step with the white fondant *** (see note below)

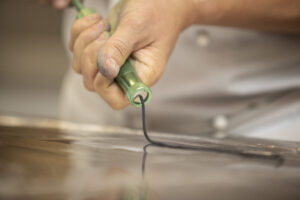
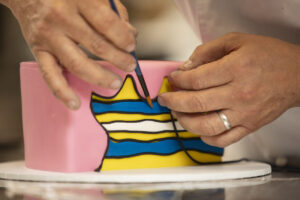
Knead the black RTR icing and make a thick sausage. Place into the extruder. Twist the extruder to obtain black strings. With a paint brush, lightly dampen the edges of the pink drip.
Starting from one corner of the pink drip, trace around the drip with the black RTR strings.
Repeat the process around all cake trims.
Note: to keep the white fondant clean, place between two layers of clingwrap.

To create the candle
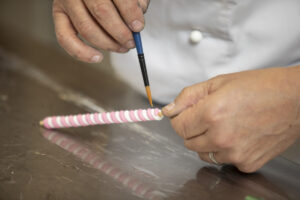
Use the pink RTR fondant and a larger round extruder attachment to create thicker shaped strings.
Repeat this step for the white RTR.
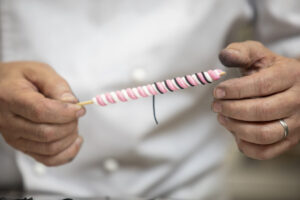
Using the thick pink and white string twist around a skewer, ensuring they stay in line.
To create the cherry
Roll the red RTR fondant into a round shape and with a marzipan ball tool.
Press down on the top of the cherry to create a dimple effect.
Place the stem of a Maraschino cherry in the centre of the dimple.
To create the white swirl
Roll the white RTR fondant into a sausage shape and twist, then swirl it. Place the cherry on top.
Finish the candle, cherry, and swirl with the black trims.

Further notes
To make the confetti sponge cake
Line a 40cm x 70cm baking tray with baking paper or silicone paper and pre-heat the oven to 200°C.
Place all Group 1 ingredients into a mixing bowl and mix for 1 minute.
Add Group 2 ingredients to Group 1 ingredients and mix for a further 1 minute to incorporate all ingredients.
Increase the mixer to gear 2 and mix for 3minutes.
Gently fold the confetti into the cake batter and spread over the prepared baking tray.
Bake at 200°C for 20 minutes.
To make the fondant buttercream
Place fondant and butter into a bowl, beat and aerate until light and fluffy.
Add the desired vanilla extract into the mix.
Continue to mix until all ingredients are combined to a smooth, creamy consistency.
To prepare the cake for decoration
Put some buttercream onto a cake board.
Place the template over the cake and cut around it. Or cut 15cm width by 21cm length in a cake slice shape.
Place the first layer of cake onto the cake board.
Put the desired amount of buttercream onto the first layer and smooth it with the help of a palette knife.
Repeat this process until the last layer of cake has been added.
Make sure each layer of cake stacks straight onto the one below. The finished cake height will be 10–12cm
Crumb-coat the cake using a palette knife.*
Prepare a piping bag without a nozzle or coupler and fill it with the fondant buttercream
Start piping from the side of the cake to the top edge. It does not have to be super clean. However, make sure you do not leave any gaps.
Smooth the top and sides of the cake using a palette knife.
Once the sides are clean, place the cake in the freezer for at least 10 minutes.
Remove the cake from the freezer and cut the excess buttercream on the top edge to achieve sharp edges.**
*Note: Crumb-coating is covering the cake with a thin layer of buttercream in order to get rid of any crumbs.
**Note: Work as fast as possible. If needed, place the cake back into the freezer.


COMMENTS