
Finding inspiration is easy with fresh flowers and modelling chocolate.
Throughout the years I’ve had countless conversations about modelling chocolate. People ask me, “Do you work with modelling chocolate?”, yes. “Do you prefer to make your own or use pre-made?”, I prefer to make my own. “Do you have a good recipe?” “How do you use it?”, and so on and so forth.
In Australia, modelling chocolate is a bit of a grey area. We have seen a lot of it used in the US, but I, for one, find it hard to get locally. It might be a bit expensive, but I encourage you all to give it a go – you’ll be pleasantly surprised.
Working, handling and manipulating modelling chocolate is very different to straight coverture chocolate or compound chocolate. This medium has its own personality and with practice, it can be a great friend in the kitchen when creating sweet elaborate masterpieces.
I am happy to share my favourite recipe – a great show-stopping cake for you to practice on, which won’t be too hard. If you would like to use your own recipe or a particular store-bought variety, that’s absolutely fine.
Wrapped celebration cake with modelling chocolate

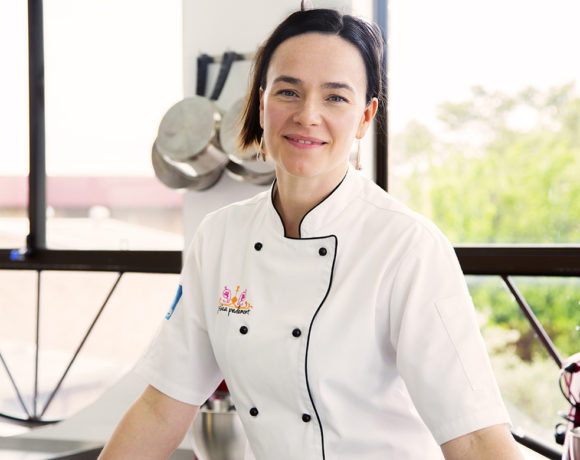
Recipe by Jessica Pedemont, photography by Frank Selmo.
Modelling chocolate
Ingredients
• 1 pound or 450g CK Merkin Candy Melts
• 140-200g dark corn syrup
• Gel colour if desired
Equipment
• Wooden spoon
• Large stainless steel bowl
• Saucepan
Method
1. Melt the candy melts over boiling water while gently stirring and mixing the corn syrup through. At this point, you can also colour the modelling chocolate if desired with a gel colour.
2. The chocolate will take a little while to melt down, so keep stirring until completely smooth.
3. Pour onto plastic wrap and allow to cool to room temperature overnight.
4. When ready to use, knead until a pliable texture and use for your desired project.Note: if the modelling chocolate is cracking or too hard you can heat in the microwave for a few seconds and hand-knead some more corn syrup in.
Wrapped celebration cake
Ingredients
• Serrated bread knife
• 4” spatula
• Pastry brush
• Pasta machine
• Small rolling pin
• Pizza wheel
• Small knife
• Zig zag/ravioli cutter
• Grease proof paper
• Ruler
Method
1. Torte your cakes into three layers and brush with sugar syrup.
2. Place a layer of ganache in between.
3. Place your 8” board on your base board and attach with ganache or hot glue. Then place your 8” cake on the board and secure.
4. Place the 6” board on top of the cake and trim the cake on an angle.
5. Place your 6” cake on the 6” board and a 4” on top. Again trim the cake on an angle.
6. Using your offcuts create an extra layer of cake on your largest cake and insert your dowels.
7. Place your next tier on top and build up the third tier (point) using your offcuts.
8. Trim any excess and cover with a layer of ganache.
9. Allow to set. Your ganaching does not need to be perfect for this cake, so enjoy the process.
10. Lightly need your modelling chocolate and flatten a little.
11. Work the chocolate through the pasta machine on the largest setting. You may need to do this a few times if you want it to be thinner, adjusting the settings until you reach your desired thickness.
12. With your pizza wheel cut one side flat and with your zig zag cutter cut the other side.
13. Wrap around your cake. You may need a little melted chocolate to help it stick to the cake.
14. Once you have wrapped your whole cake, arrange your flowers on the cake. You could also decorate the cake with gold leaf or chocolate roses
Tutorial and images provided by Learn Cake Decorating Online. Join at www.learncakedecoratingonline.com to watch Jessica’s video tutorial and access more than 200 hours of tutorials, 24-hours a day.

COMMENTS